
I used the fun new Mustache Cutup die and the coordinating The Mustache Set for the sentiment on the inside of my card.
I've seen tons of pics on Pinterest and all over the web lately of photos taken with these little stick mustaches and thought that would be a fun idea for my little boys birthday thats coming up soon! He is a little card and is always dressing up and preforming for everyone, so I know he'll like the playing with this mustache! And I made the mustache removeable from the card so he can do just that!

Here is a close-up of the rosette embellie, using the Easy Rosette Cutup and diecut number six and a wooden button tied with a fun Cherry Divine Twine bow.

And here is the card front, with the mustache stick removed! Seriously, FUN!

Alright, here is a quick step-by-step photo tutorial to show you my process. Although it really isn't rocket science;)
I used a Wilton lollipop stick that I had in my baking supplies, divine twine, double sided tape and adhesive sheets, felt, black CS and of course the Mustache die and my bigshot.

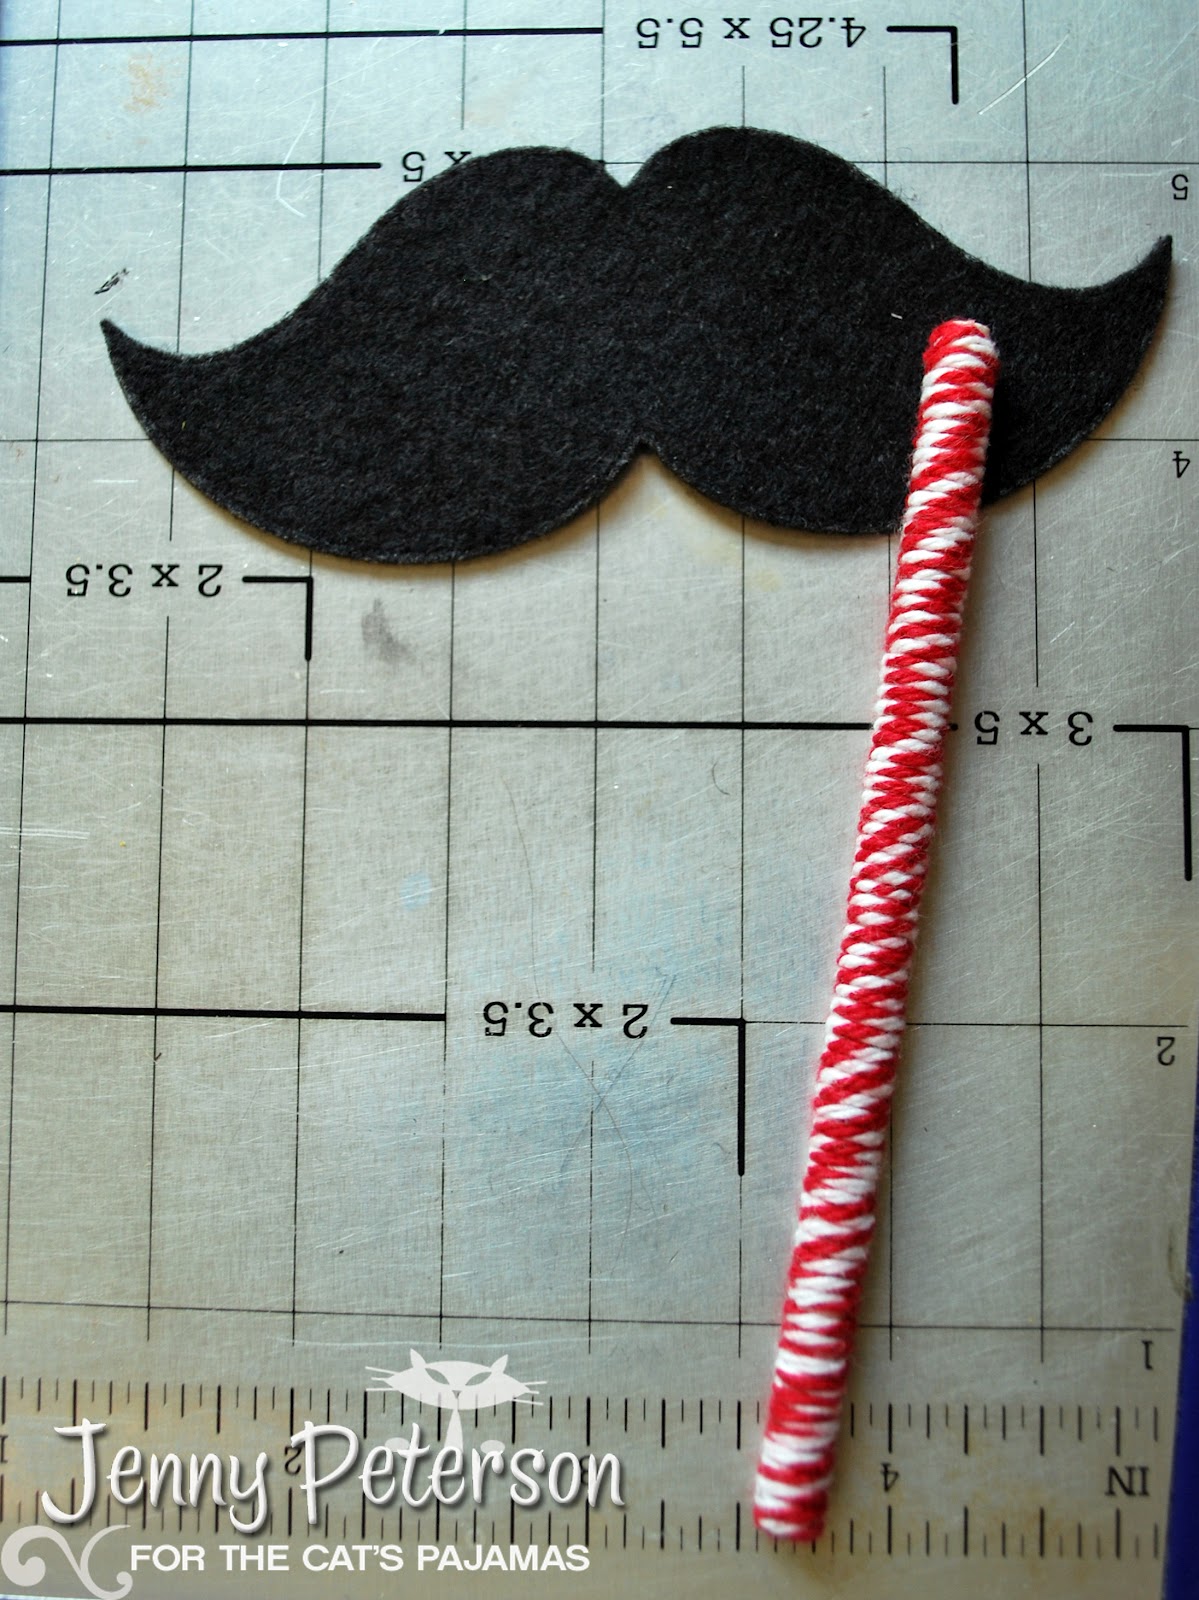
Cut a piece of black felt with the largest of the Mustaches, then cut another from a piece of black CS that has been adhered to one side of a double sided adhesive sheet (I use the Sookwang brand). Next, adhere two lengths of double sided tape up both sides of a lollipop stick. Remove the paper backing a bit at a time and wrap with the Divine Twine.

Now place the finished stick on the backside of the felt. Remove the paper backing from the adhesive sheet/CS mustache and sandwich the lollipop stick in between.
Note: You will need to use a fairly strong adhesive on the portion of the card that the velcro is attached to (again, I find the sookwang tape is the strongest)

Here is the finished front again, as well as the inside.


Alrighty...link up your sketch challenge creations to the Dancing in PJ's blog for your chance at Fame and Fortune!

5 comments:
oh my Lordy, he couldn't be CUTER!!! love the 'stache!!!! COOL card!!!
Could this be any more adorable!
This is wonderful! I love that it is interactive (super fun pics btw), your details are incrediable, and the whole thing is super inspiring. TFS!
really cute card...Hello Hayes...he is just as cute!
Ohhh... These are some of my most FAV papers!!! Love the detachable mustache! I'm thinking GAP will be ringing you up any moment!!!! He's adorable and perfect expression!
Post a Comment